I’ve recently run some photography training, and I thought it might be worth sharing the notes that I made for the workshops through this blog. I called it “Making photos” because the tips, tricks and techniques only get you up to the point of pressing the camera shutter button. There’s nothing here about the equally important topics of photo editing (or ‘post-processing’) or about photo collection management. Maybe for later blog posts…?
1. KNOW YOUR CAMERA
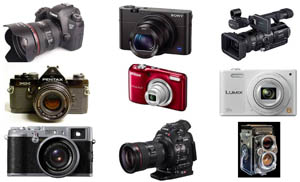
Every camera is different. To use a camera effectively, you need to understand the principles of photography, but you also need to have knowledge of the specific controls, features and limitations of the camera you are using. Read the manual, talk to other expert users and practise using the camera before taking it into the field.
2. MAKE A PLAN
 There’s an old saying in business that: “If you fail to plan, then you plan to fail”. It’s true for photography too. So, before going on a ‘shoot’, get prepared! Make sure that your camera is ready:
- lens(es) cleaned,
- battery and spare battery fully charged,
- memory card ready,
- other gear (e.g. tripod, flash, torch etc) in working order and ready for use.
It can be very useful to make a list of ‘shots’ that you need to make, especially if the shoot is going to be brief or busy. So for event photography, for example, you may want to list: an overall view of the venue of the event, photos of people arriving, the official opening, each of the main speakers, audience shots, catering, etc).
Plan to arrive early if possible, so you can prepare your equipment, check the lighting conditions, shoot some test photos, talk to people to be photographed, and generally survey the situation.
3. SHOOT IN ‘RAW’ FORMAT WHENEVER POSSIBLE
 The RAW image is like a ‘digital negative’ – it’s an accurate record of what the camera sensor sees. You can then process it any way that you need.
A JPG image, however, has already been processed and compressed, so some of the original image quality is already lost.
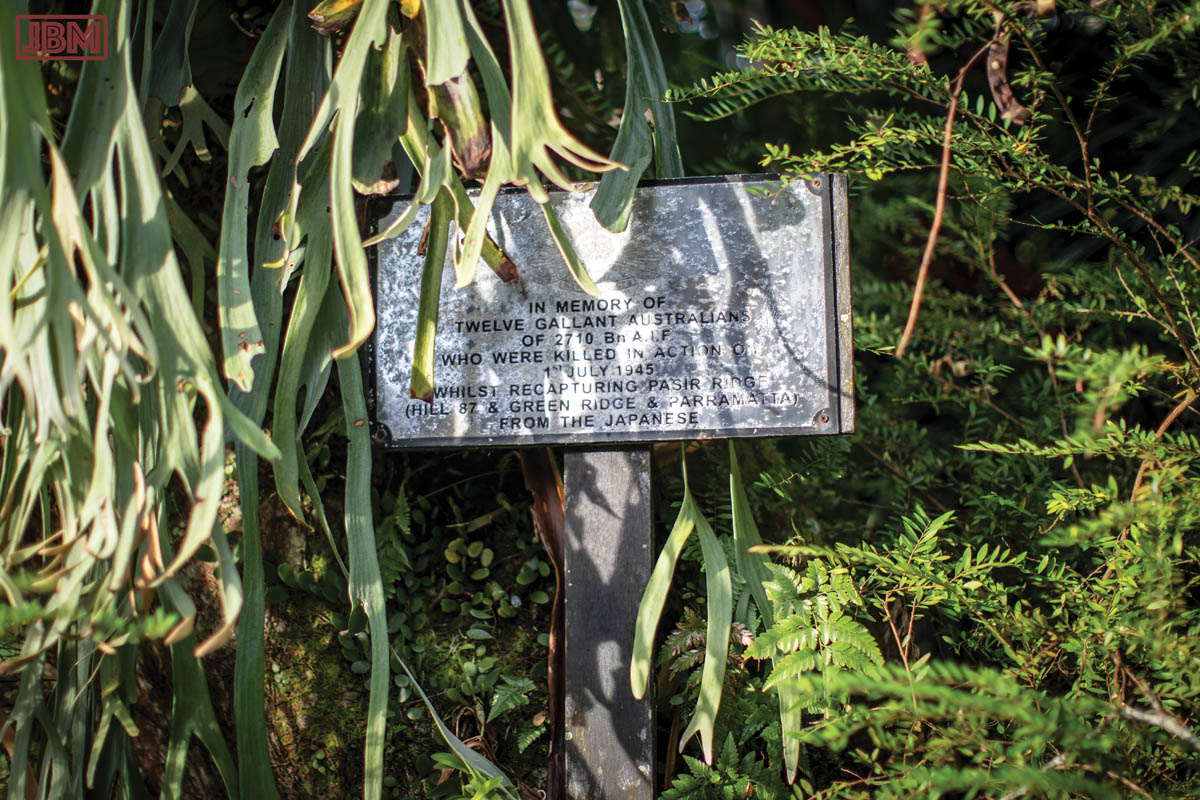
4. WHAT IS THE SUBJECT?
 Think before you open the shutter. What is the purpose of this image? What do I want to say or record with this photo?
Make the subject prominent within the picture, and remove unnecessary content from the frame.
(You can of course also crop and delete unwanted content later during post-processing – but it’s better to get it right when you take the photo).
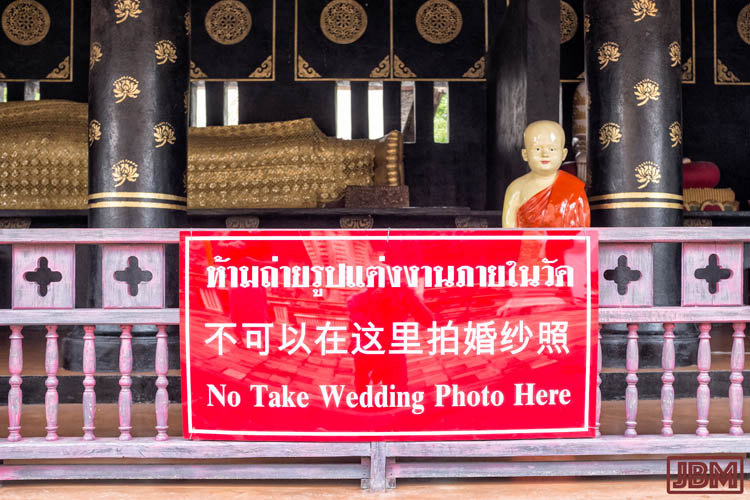
 Consider placing the subject (person or object) against a completely plain neutral background (e.g. a wall, sky, a screen, uniform vegetation) to remove all distractions from the subject.
5. The ‘Rule’ of Thirds
 One tip for composing a photo is to put the most important part of the subject at a point one third of the way from both the vertical and horizontal edges of the frame.
This ‘rule’ is really only a guideline. Don’t follow it if you want show symmetry or some interesting effect in your image.
But always think about your composition before you press the camera shutter.
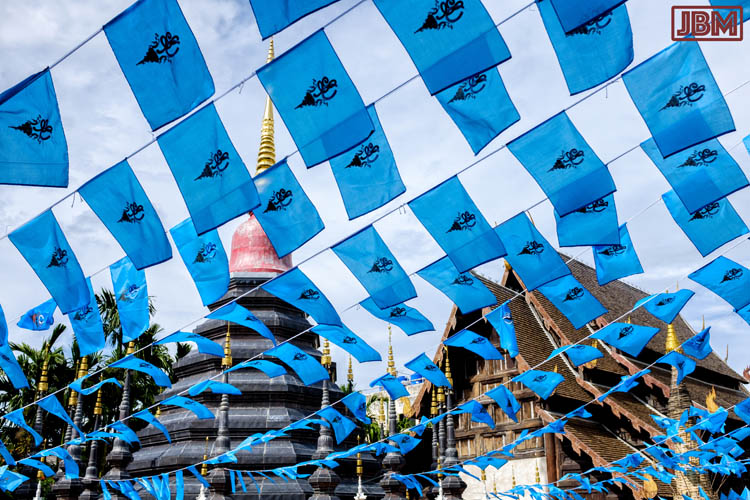
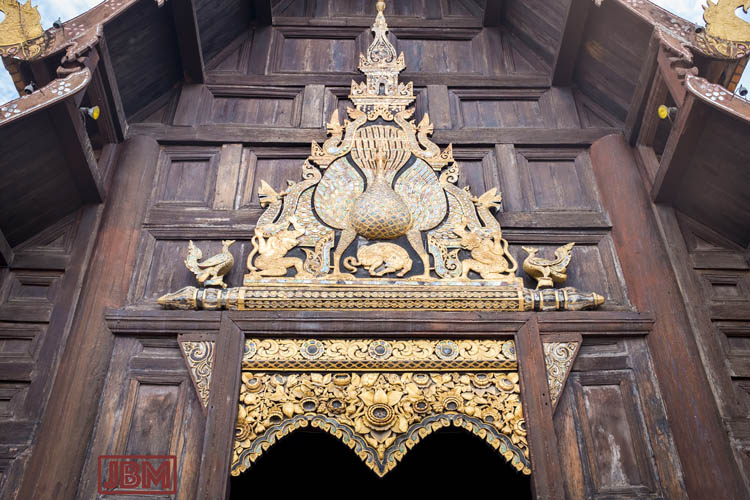
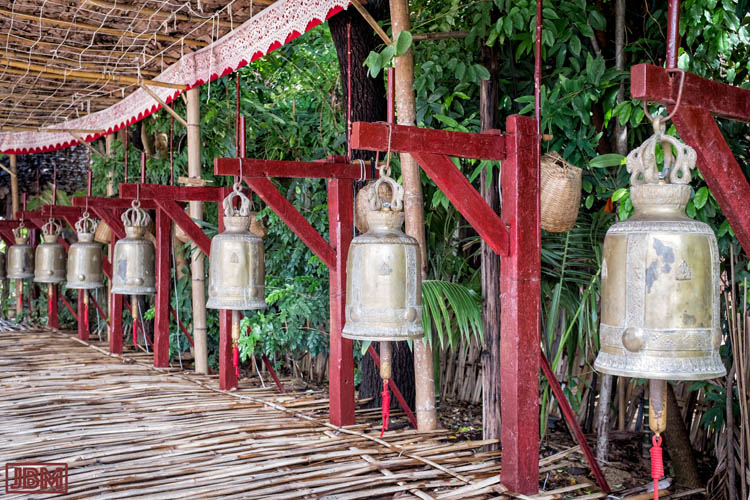
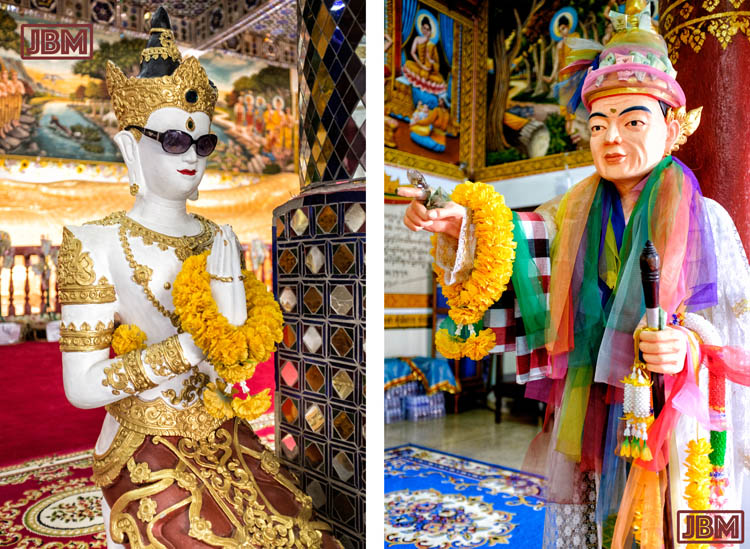
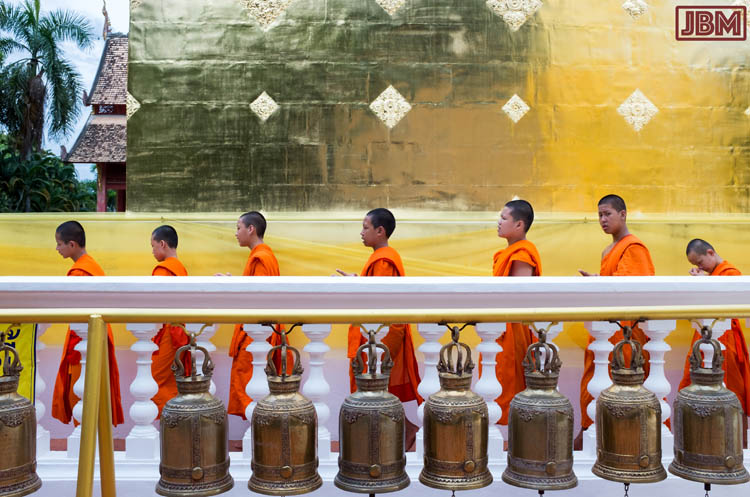
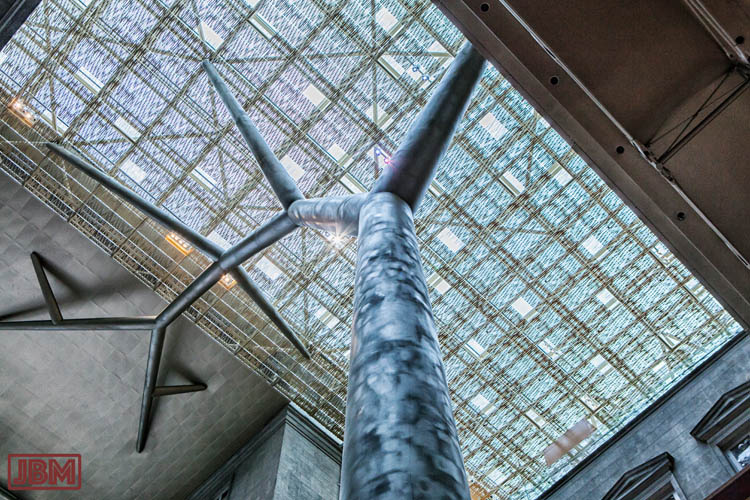
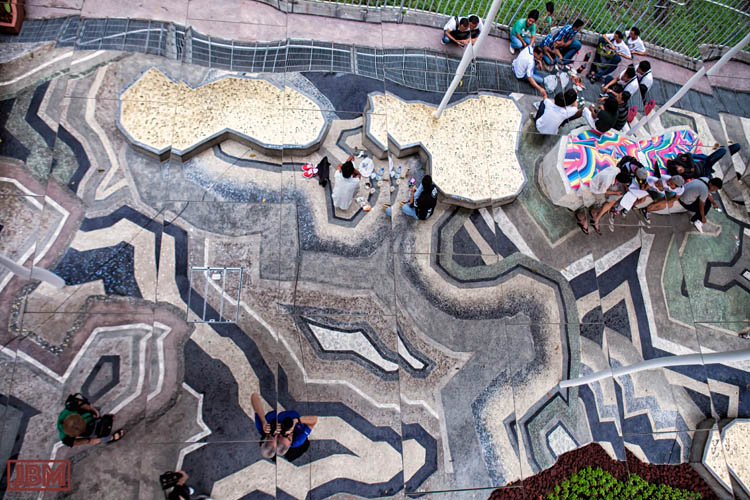
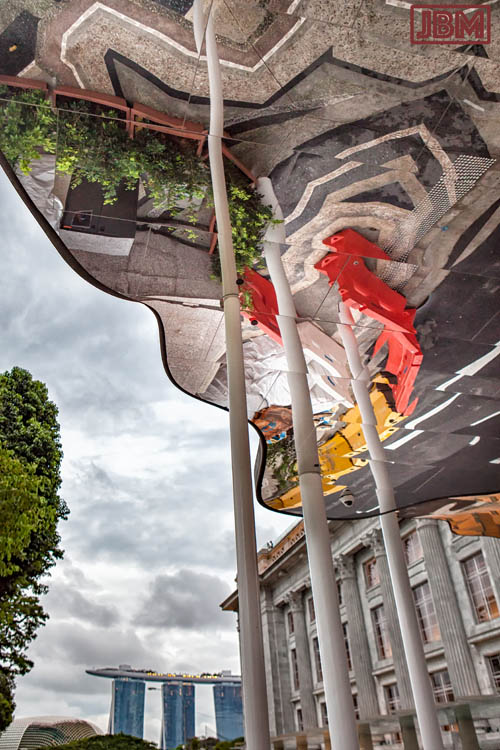
6. Repetition of form
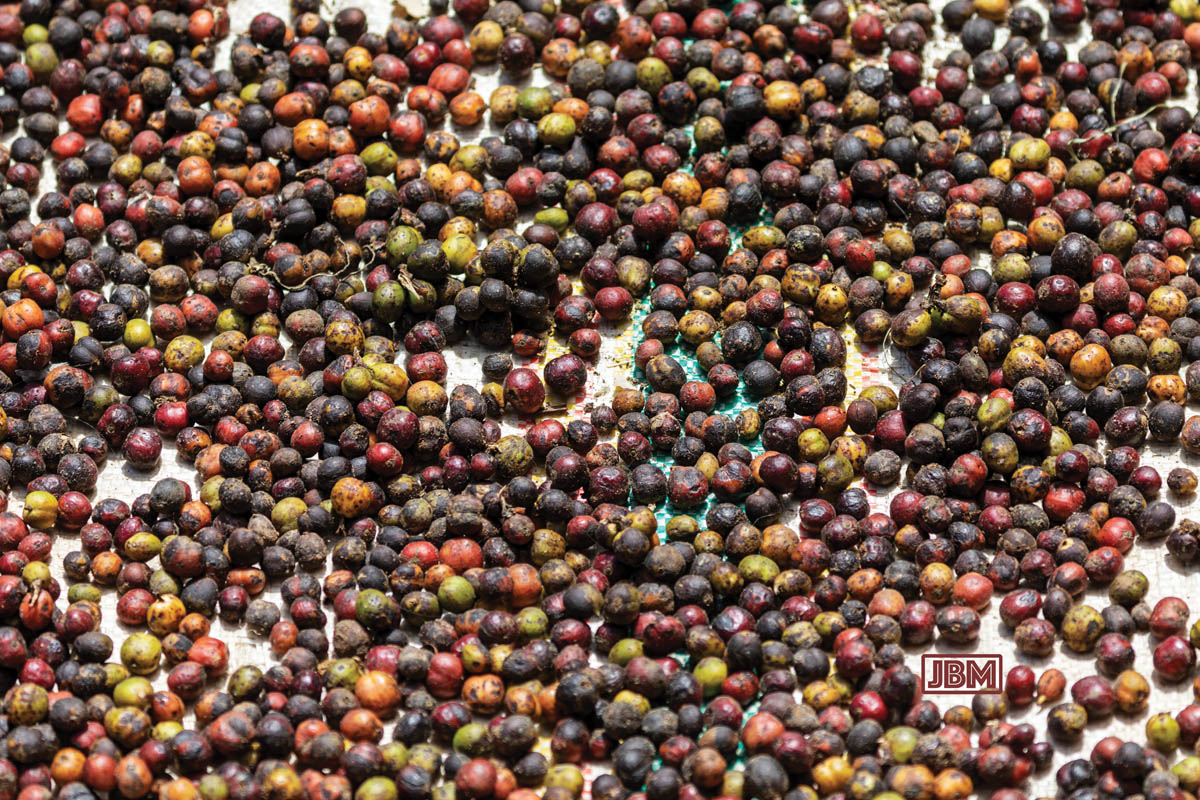
 There is something ‘pleasing’ for the human eye to see a repeating shape or colour in a photograph.
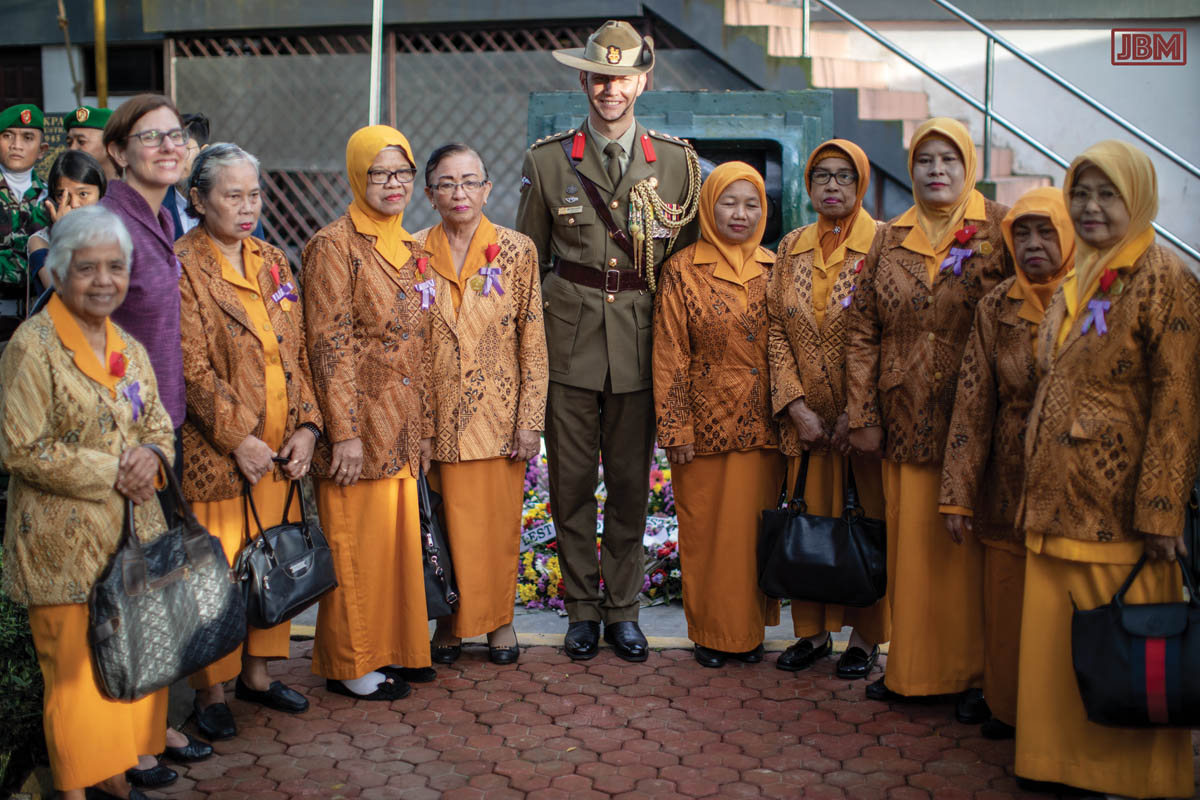
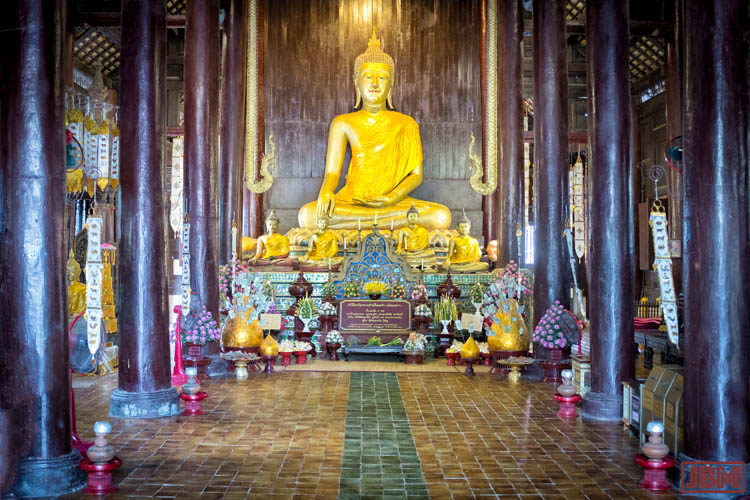
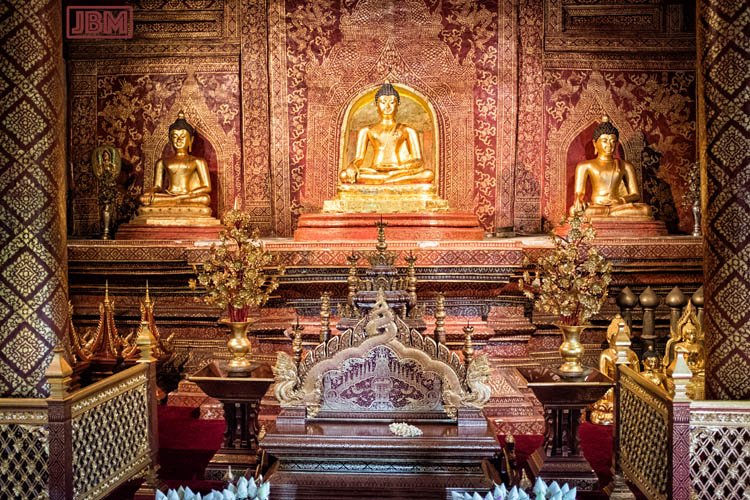
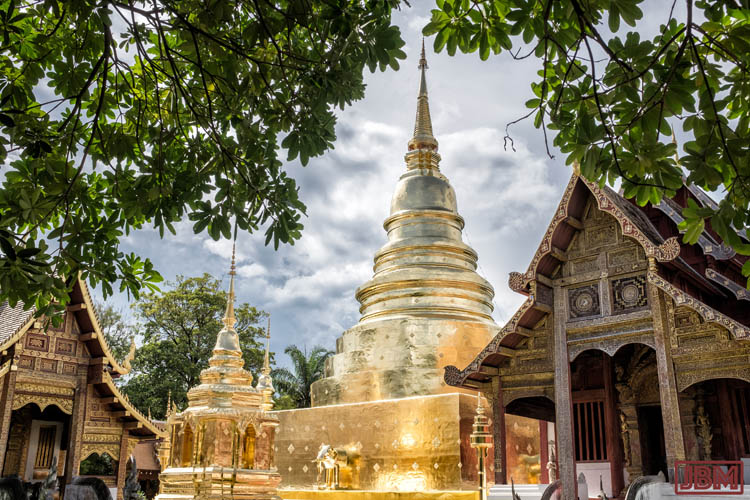
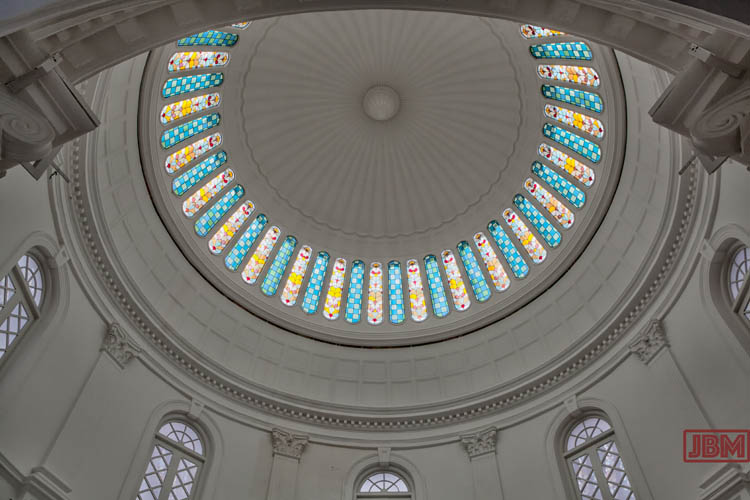
7. Symmetry
 Some subjects are naturally suited to symmetry. An evenly symmetrical image looks very ‘stable’ and ‘solid’.
If you want to make a precisely symmetrical image, you need to take care to get the horizontal and vertical lines exactly aligned. You may also need to do some editing in Photoshop to get it just right.
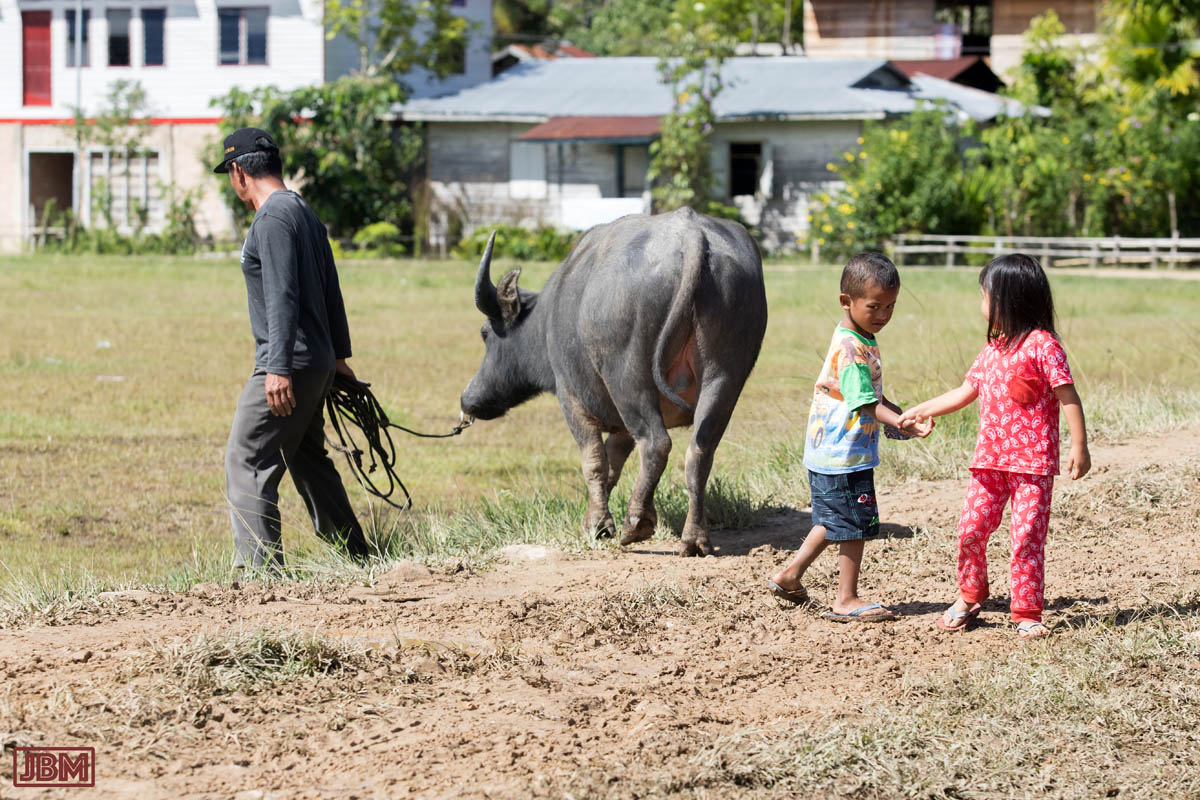
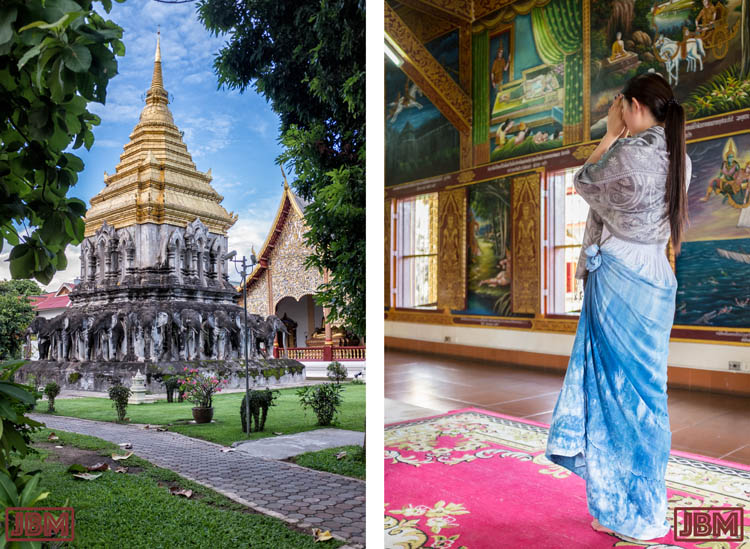
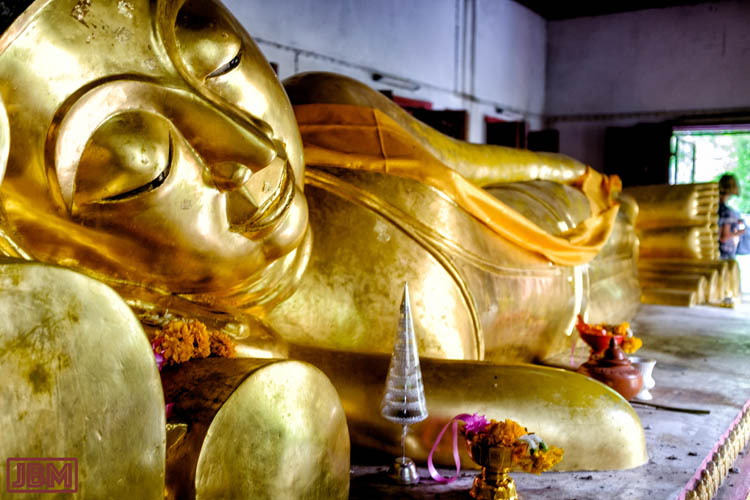
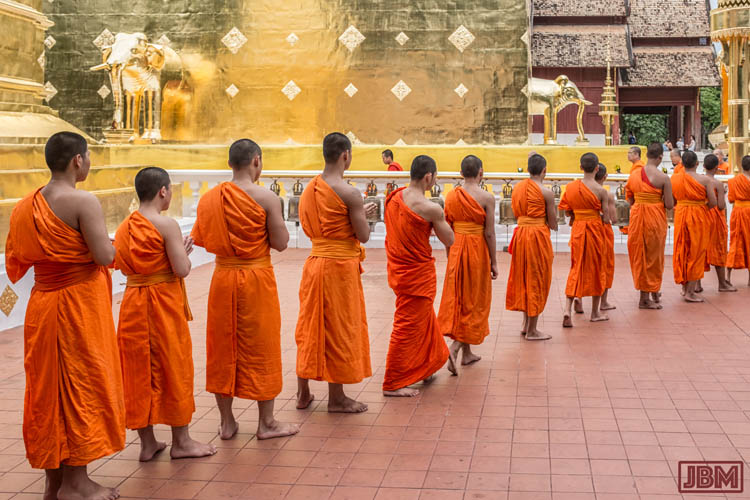
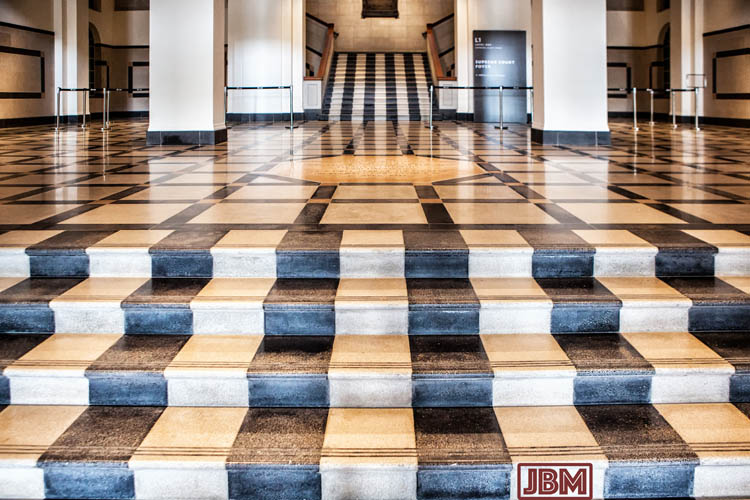
8. Receding lines
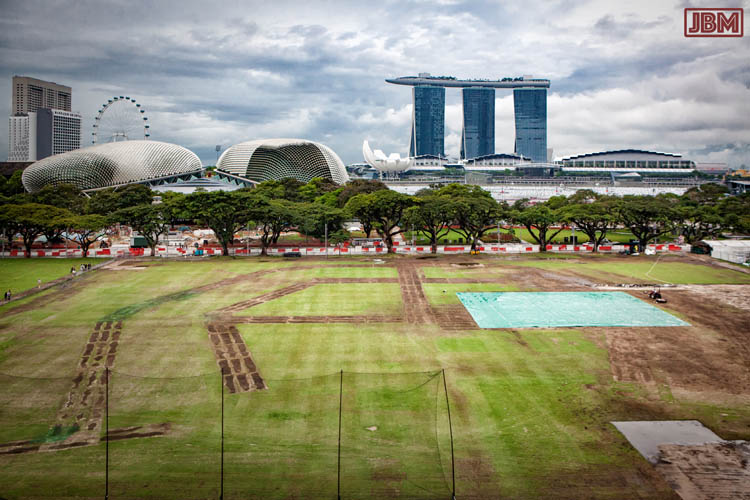
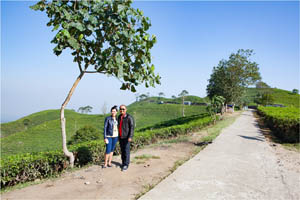 A line angling through a photograph to the horizon (e.g. a road, a wall, or a line of trees) leads the eye of the viewer into and through the photograph.
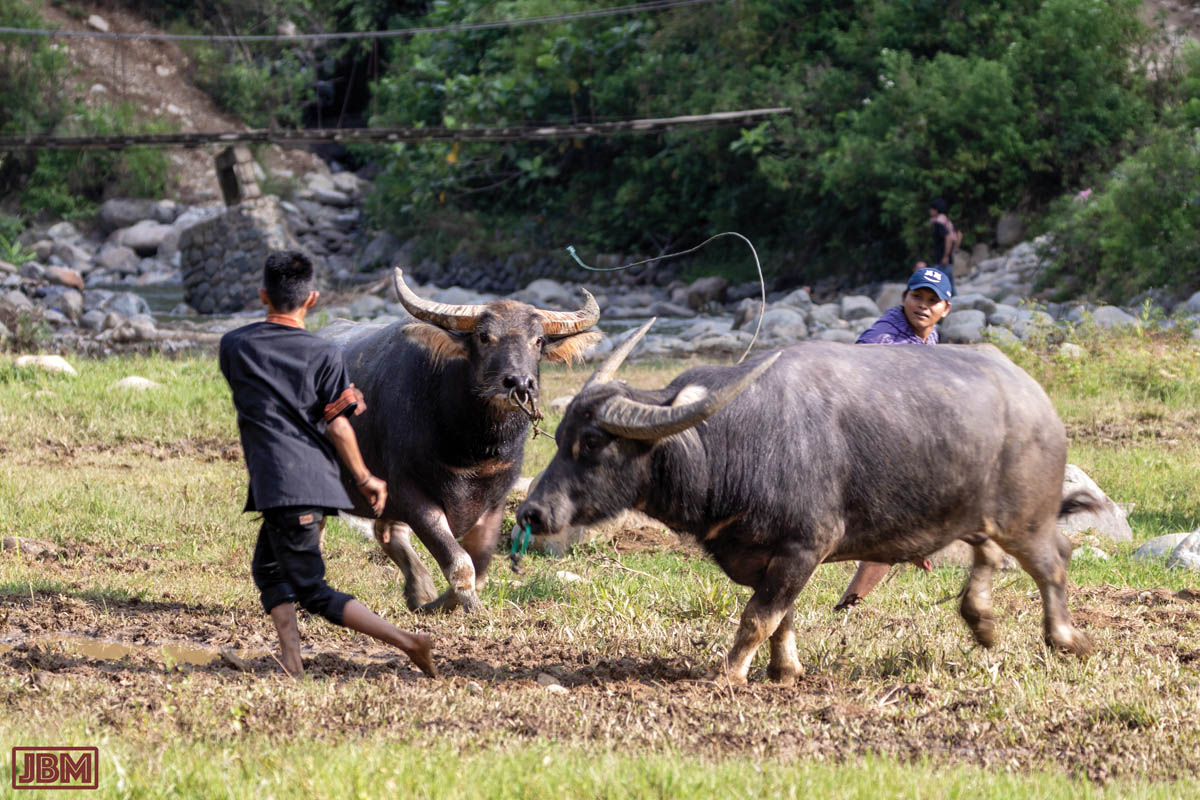
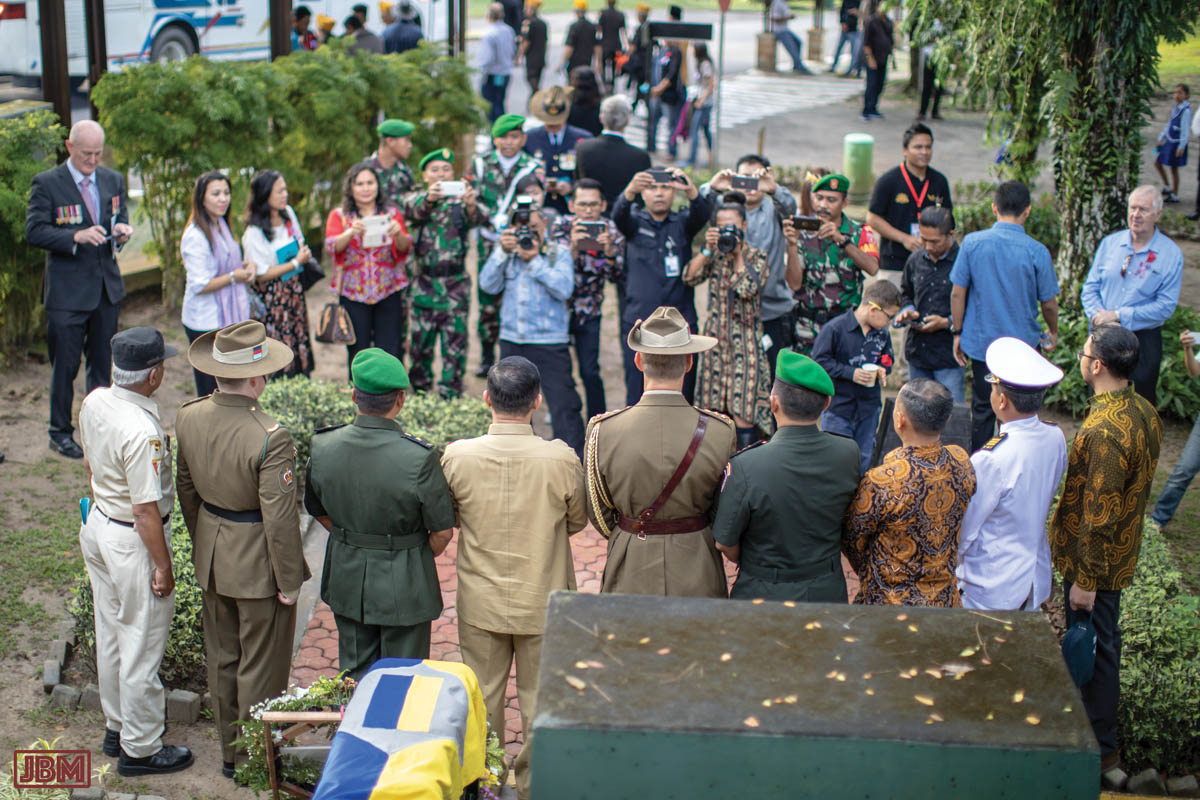
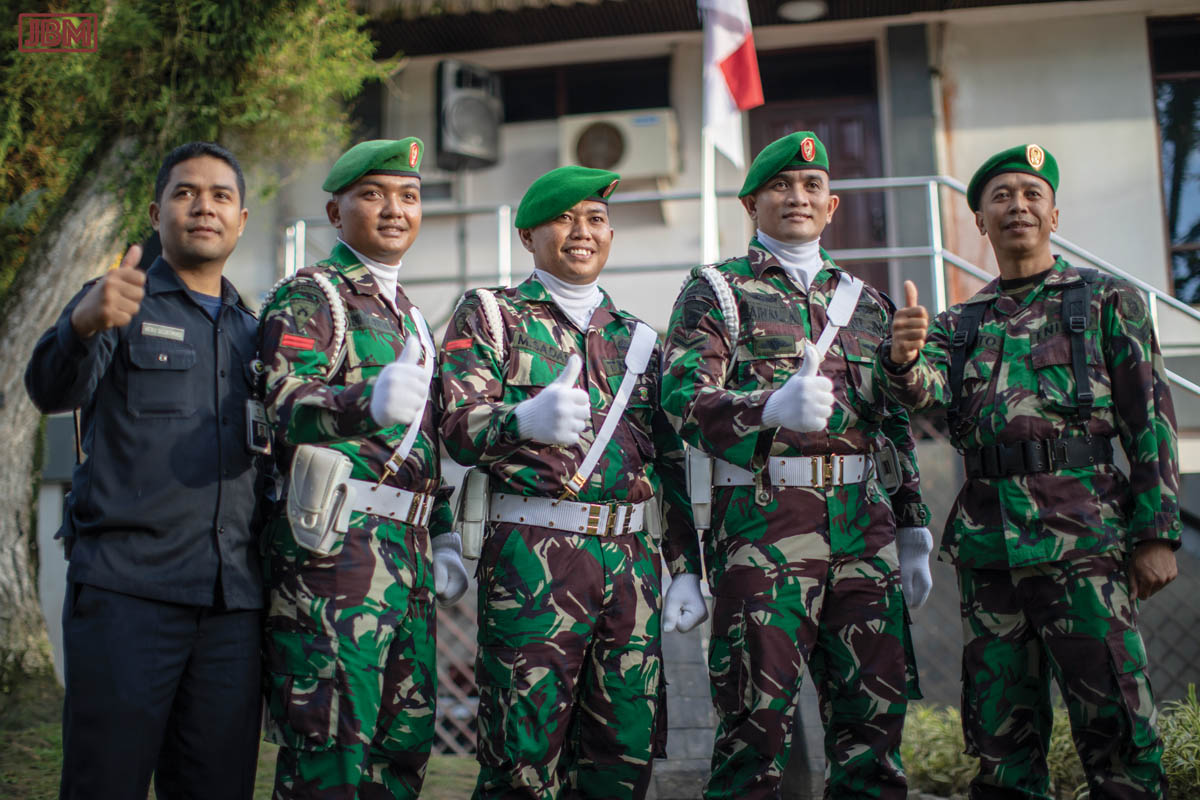
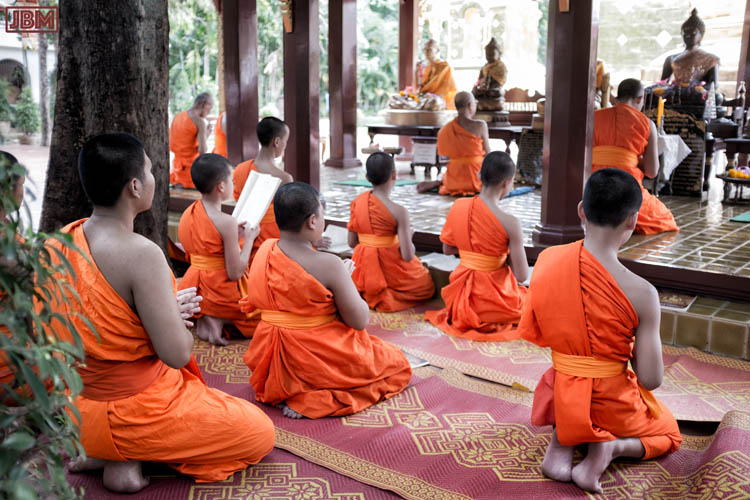
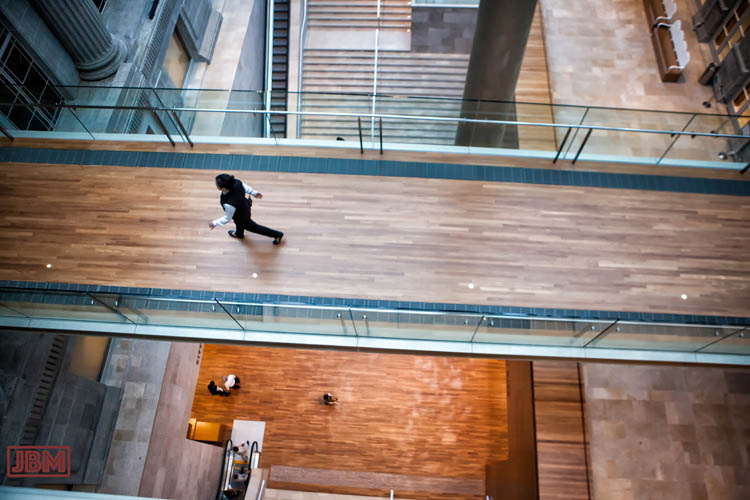
9. Active is better than static
 A photograph that records movement is usually more interesting than one where everything appears frozen e.g. people doing something is better than a group of people just standing in a row facing the camera.
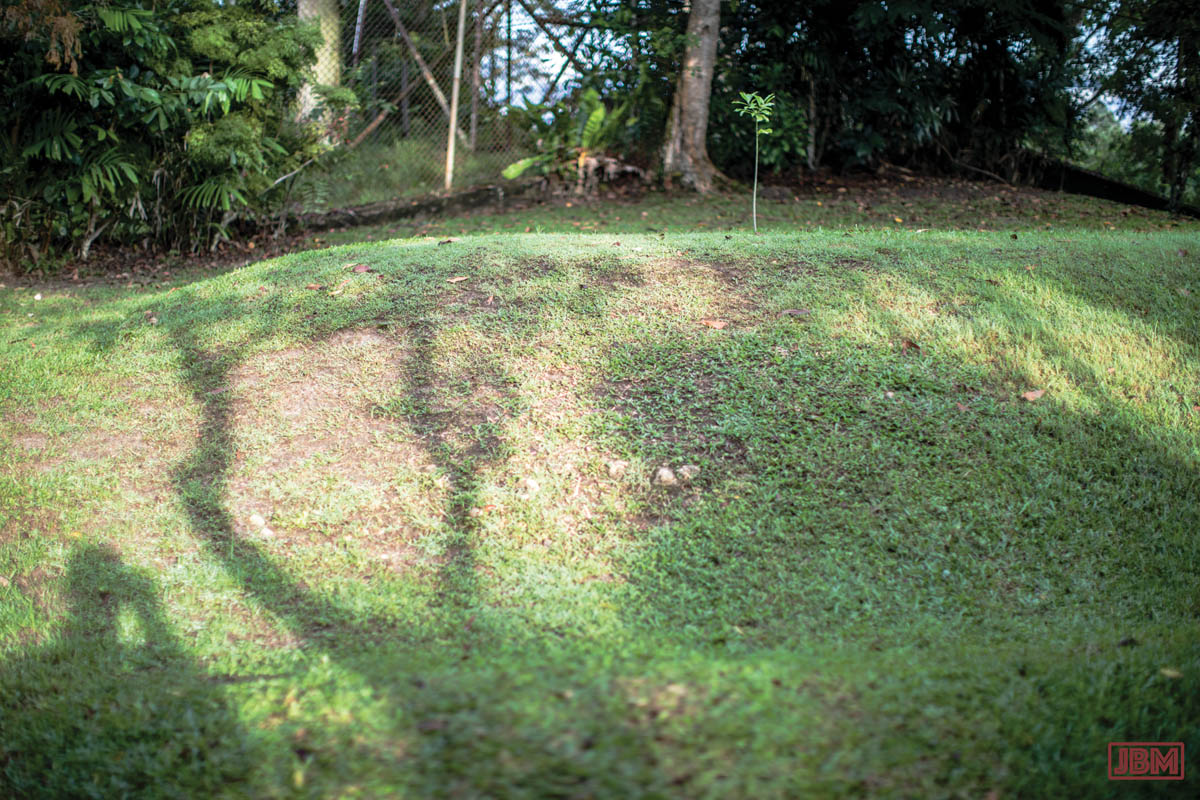
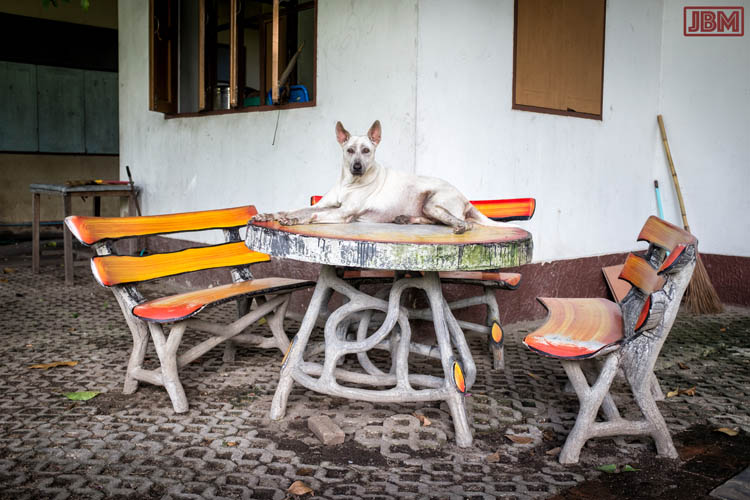
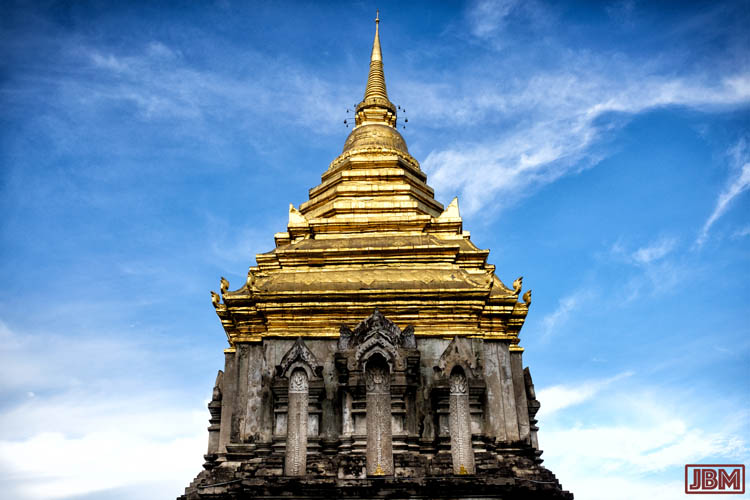
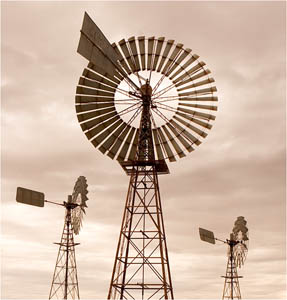
10. Include an object in the foreground of a landscape photo
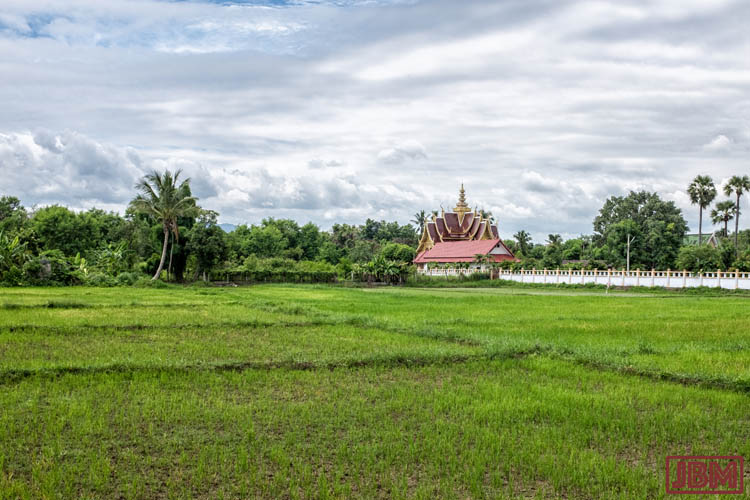
 A photo of a distant landscape can be boring to look at. It will be more interesting if there is some object (or animal or person – even a rock!) in the foreground of the image.
A foreground object will also help to lead the viewer’s eye into the image.
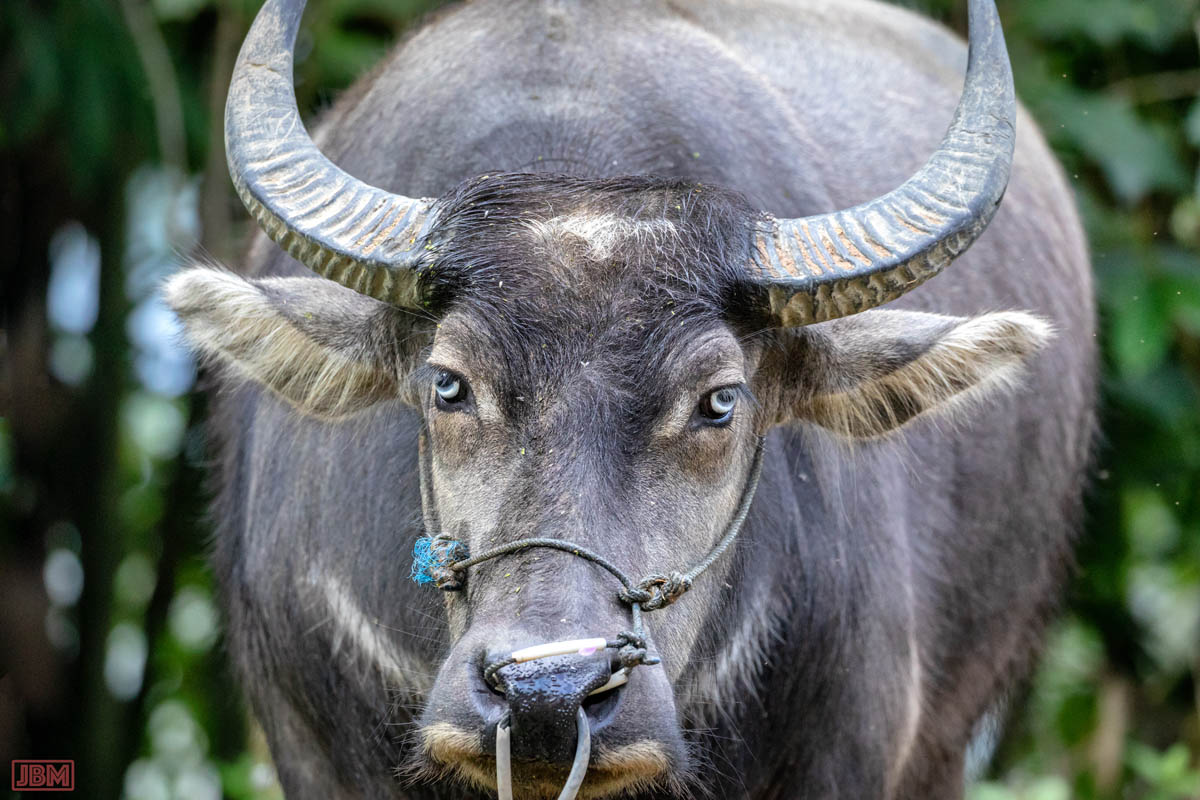
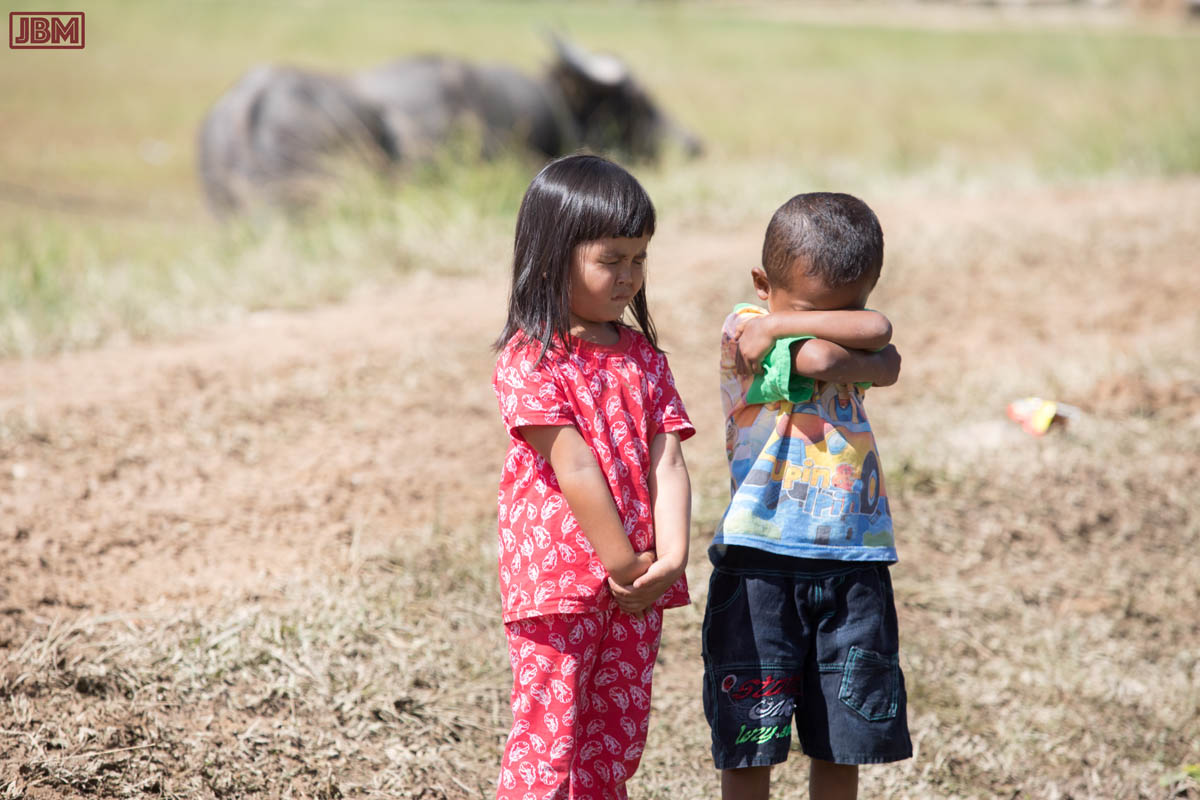
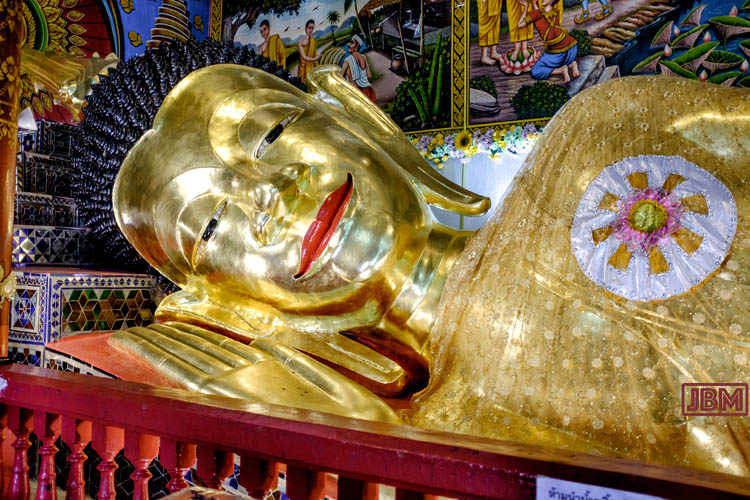
11. The Eyes Have It
 When we look at someone, we look directly at their eyes. If photographing a person, make sure that the person’s eyes are in sharp focus. Even if other parts of the person are out of focus, the image will look OK.
12. Avoid ‘red eye’ when using flash
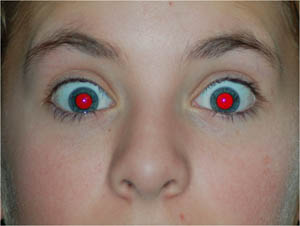 ‘Red-eye’ occurs when light from a camera flash is reflected back off the subject’s retina at the back of the eye and into the camera lens. Most camera flash units have an ‘anti-red-eye’ setting to prevent this occurring. It works by firing a brief initial flash which causes the subject’s pupil to contract, before firing the main flash and making the photo.
If you use bounce flash (see below) or a flash which is some distance from the camera lens, you will not get any problems with red-eye.
Red-eye can also be fixed in post-processing. Adobe Capture RAW and Adobe Photoshop, for example, both have good red-eye correction tools.
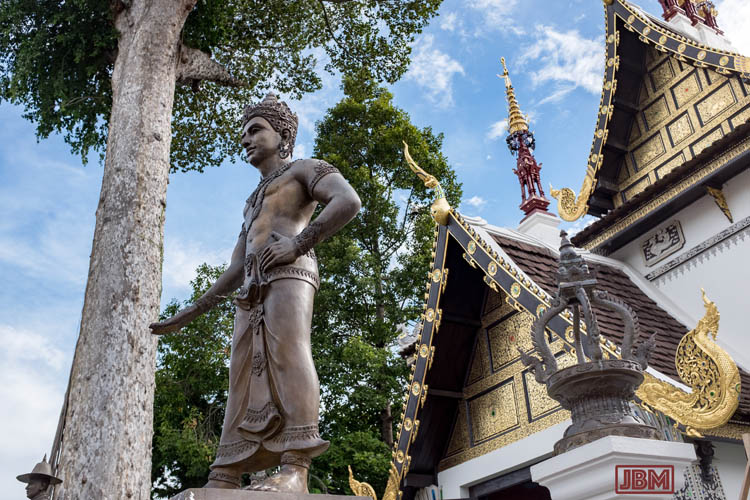
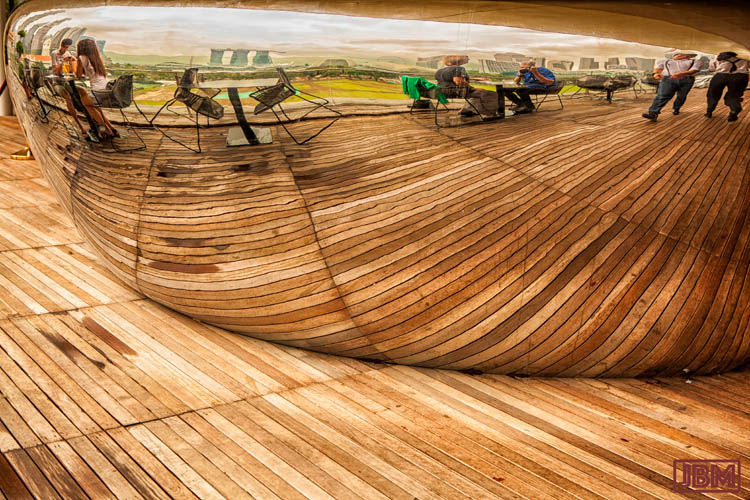
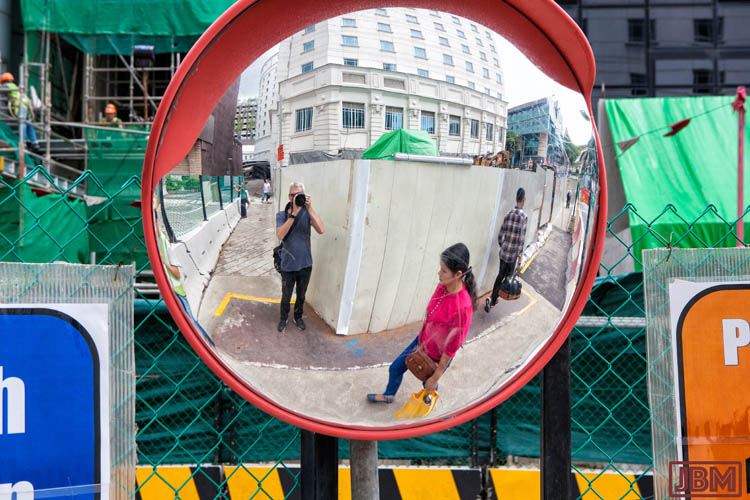
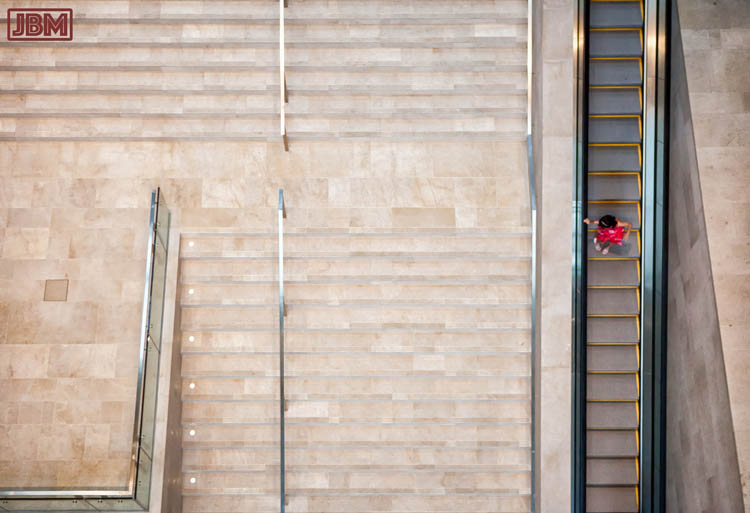
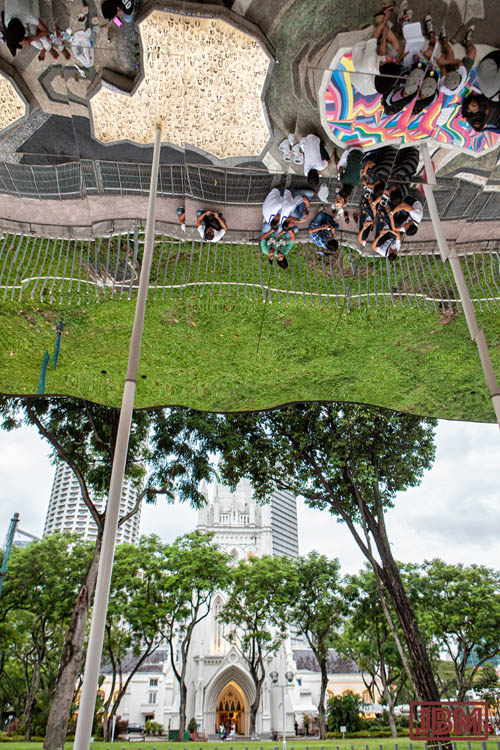
13. Use creative camera angles
 Most people take photos in a standing position, and so most photographs are taken around 1.5 metres above the ground. However it can be more interesting to shoot a scene from a different point of view e.g. from ground level or from above the subject. If a drone is not available (!), consider standing on a chair or other object to achieve a different perspective.
Be creative and experiment! Try several different camera angles on your subject, and you may produce some very  original and interesting images.
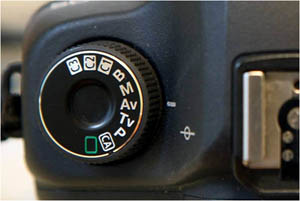
14. Aperture (1) – Set your camera to ‘AV’ – aperture priority mode
 Control of camera aperture controls not only the amount of light that reaches the camera sensor, but also how much of the image is in clear focus.
This is so useful that I nearly always operate my camera in ‘AV’ (aperture priority) mode (not ‘Auto’!).
In AV mode, the photographer chooses the aperture setting, and the camera automatically selects a shutter speed that will produce a properly exposed image.
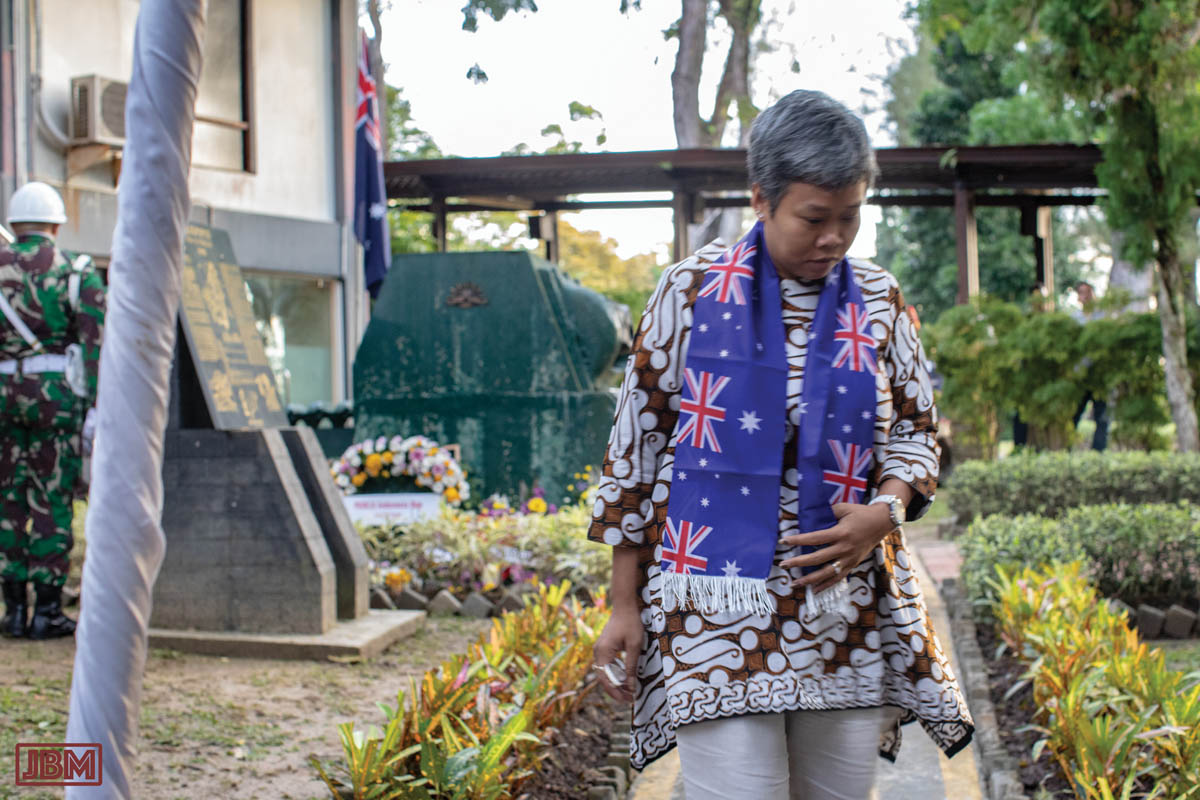
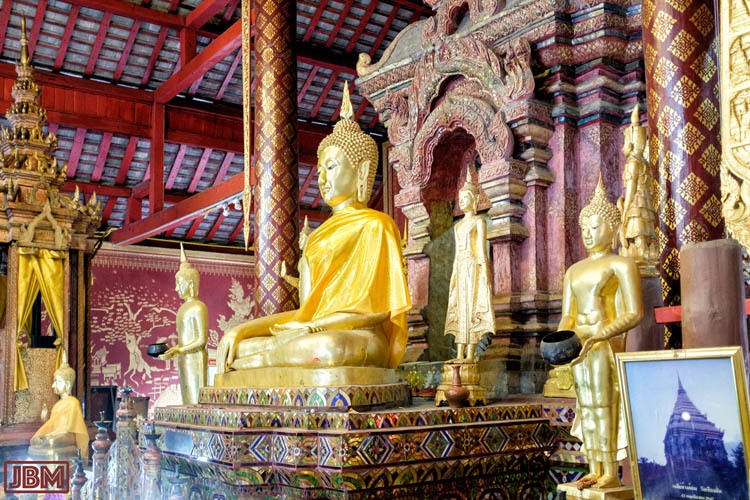
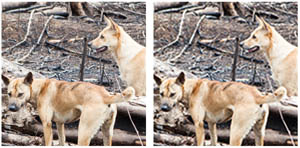
15. Aperture (2) – Use a wide camera aperture to separate subject from background
 The subject will be made more clear if it appear in sharp focus against a blurry background.
Use a wide camera aperture, and try to keep the subject distant from the background (if possible) e.g. don’t photograph people standing with their backs against a wall.
16. Aperture (3) – Use a narrow camera aperture to bring everything into focus
 If you use a narrow camera aperture (e.g. f/11, f/13 or higher) you will ensure that more of your image is in sharp focus. We says that this increases your ‘depth of field’.
This can be useful for landscape images, where there may be both close and very distant components of the image that you want to be in sharp focus.
17. Aperture (4) – Use the narrowest possible camera aperture for macro photography
 Depth of field becomes critical for extreme close-up (macro) photographs. You should use the narrowest aperture which is possible on your camera. Because the narrow camera aperture results in less light reaching the camera sensor, you may also need to use a tripod and additional flash lighting.
18. Prevent blur (1): Hold the camera still
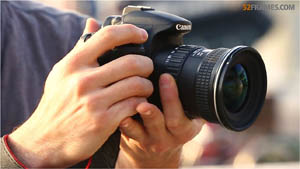 It is important for the camera to be as still as possible when taking pictures. If possible, hold the camera with both hands, with your elbows tucked into your sides.
Lean up against something (e.g. a wall) if that helps your stability.
Use a viewfinder in preference to viewing the camera LCD screen if possible.
If you have a long telephoto lens on the camera, hold the camera body in your right hand and balance the lens on your upturned left hand.
When you are ready to take the photo, breath out slowly and just squeeze the shutter button (don’t jab it!)
19. Prevent blur (2): Use a tripod
 The best way to prevent blur when there is not enough light is to use a tripod. With a tripod you can set the shutter speed to be slow.
To further stabilise the camera, and prevent camera shake, use a 2-second timer delay and a ‘mirror lock-up’ setting if your camera allows this.
20. Prevent blur (3): Set shutter speed according to the focal length of the lens
Everyone’s hands move a little, and there is a minimum shutter speed that will usually prevent that movement from causing visible blur. The standard formula for calculating minimum shutter speed is:
Minimum shutter speed=1/(Focal length of lens (in mm))
So, for example, if hand-holding the camera with a lens focal length of 300mm, the shutter speed should be no slower than 1/300 second.
For a ‘standard’ lens, in ‘average’ conditions, you should try to shoot at 1/50th second or faster.
21. Prevent blur (4): Use higher ISO in low light
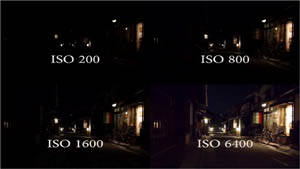 Setting your camera to a higher ISO setting increases the sensitivity of the camera sensor, so you can take photos in low light situations without causing blur, or having to use a tripod.
But note that the image quality is usually much better at low ISO (e.g. ISO 100), and at higher ISO settings (eg. ISO 1600 or greater) the image can contain a lot of visual ‘noise’, especially in the darker parts of the image.
22. Prevent blur (5): Set shutter speed according to the movement of the subject
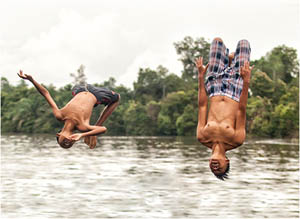 To freeze the movement of a moving subject, simply ensure that the camera is using a fast shutter speed. The required speed will depend on the speed and direction of movement of the subject, but to be sure you should generally use the fastest speed available. If a speed of 1⁄1000 second (or faster) is possible, then motion blur will be minimised.
Note that, to achieve a very fast shutter speed, you may need to increase the ISO (‘film speed’) setting on the camera.
23. Use ‘fill-in flash’ for strongly backlit subjects
 If:
If:
- the subject of your photo is in front of a brightly backlit scene (e.g. a person standing in shadow with a bright sky behind),
- it’s not possible to re-arrange the people/objects/angle of view to get even light through the image, and
- the subject is not too far away from the camera,
use flash to balance the exposure, and illuminate the subject.
(You can also use exposure compensation to get the correct exposure on the subject, but that will make the background become over-exposed.)
24. Bounce flash if possible
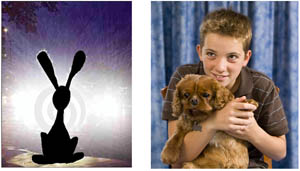 On-camera flash can result in harsh lighting (the ‘rabbit-in-the-headlights’ look), and should be avoided unless absolutely necessary. However, if you have a dedicated flash unit, you may be able to bounce the flash light off a wall or ceiling so that it looks much more natural when it strikes the subject.
If there is no suitable (and neutral-coloured) reflective surface nearby, angle the beam of the flash at 45° to the subject with a reflector behind the light beam. This will produce smoother, less directional light on your subject.
Better still, use one or more external (off-camera) flash units, triggered by radio waves or an infra-red signal, to produce natural and controlled directional lighting effects.
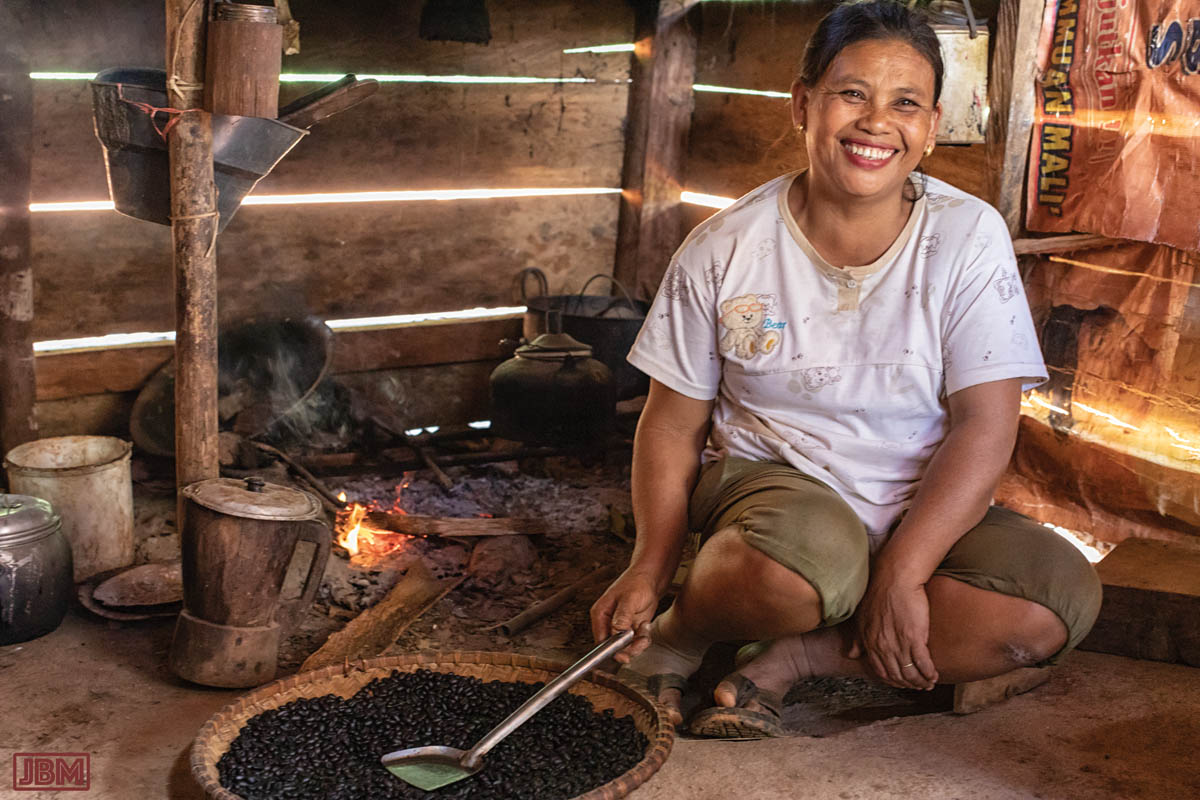
25. Make ‘environmental’ portraits of people
 When photographing a person, it can be useful to include some components in the picture that tell the viewer a little more about the person depicted. For example:
- a carpenter in his workshop, with some woodworking tools visible in the frame;
- a proud mother, with photos of her children on the wall behind her.
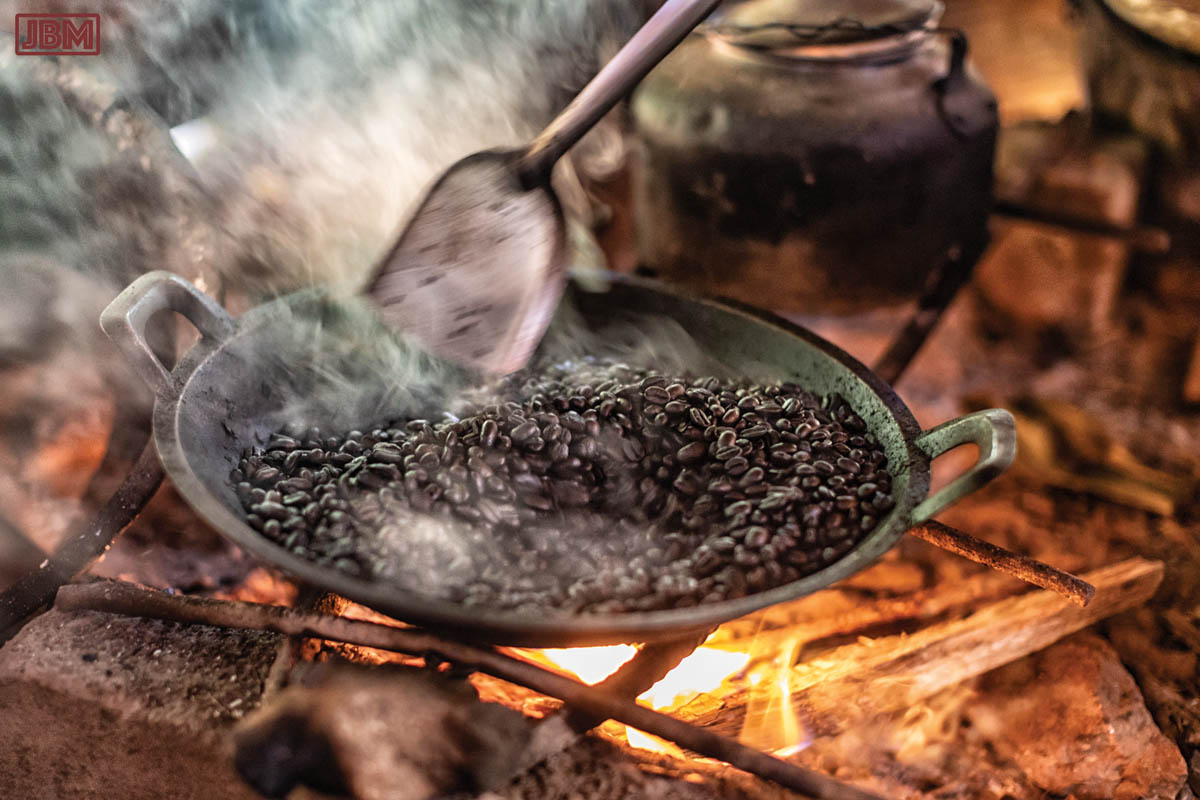
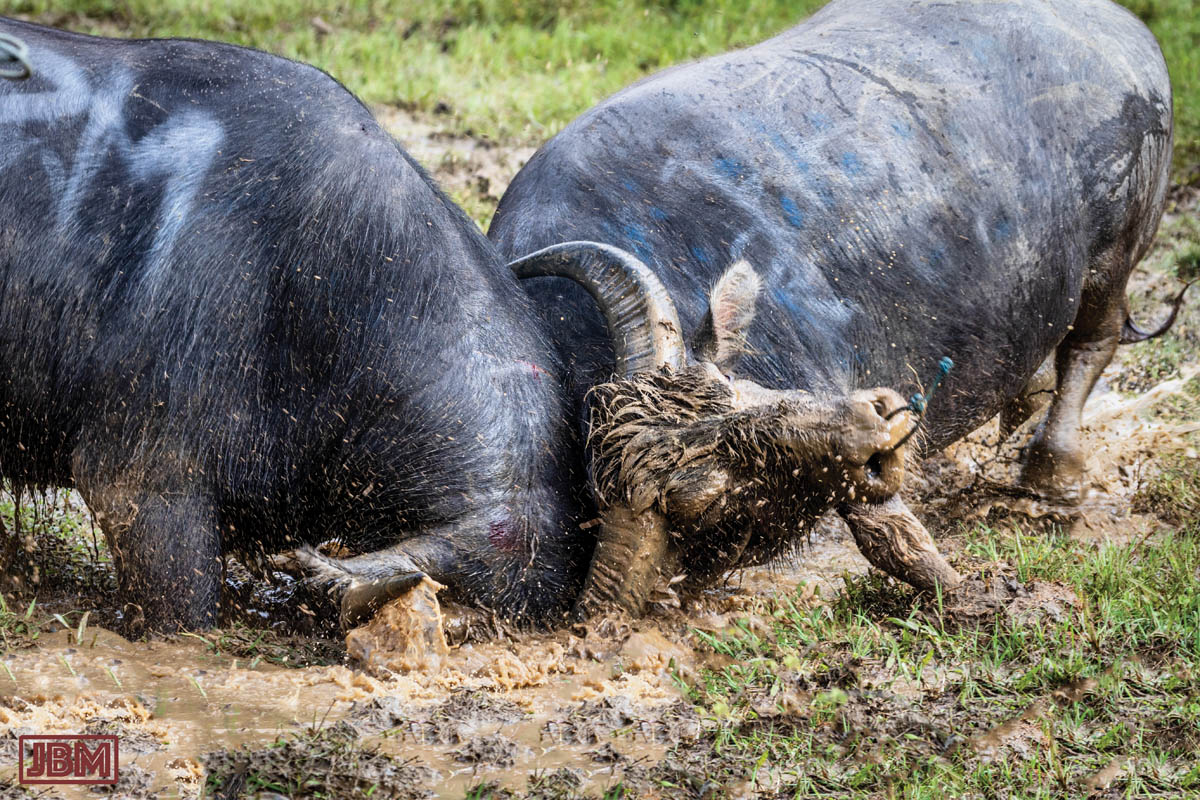
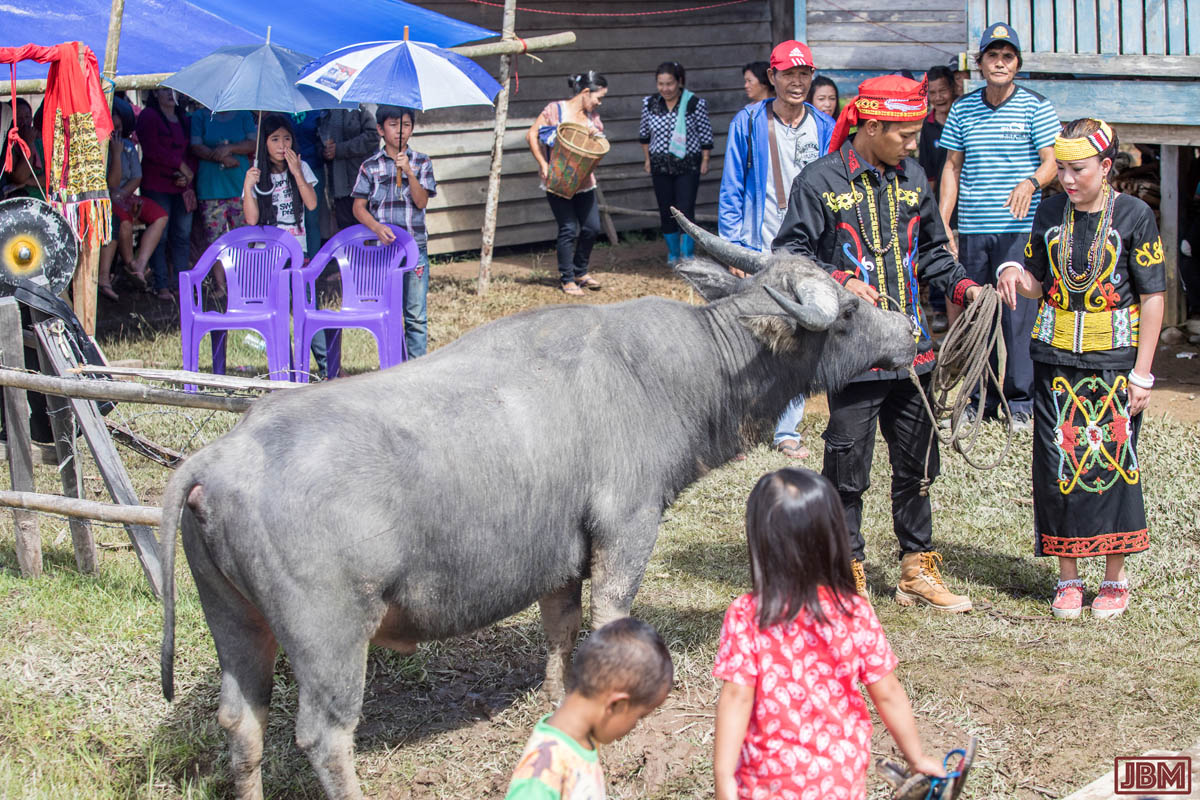
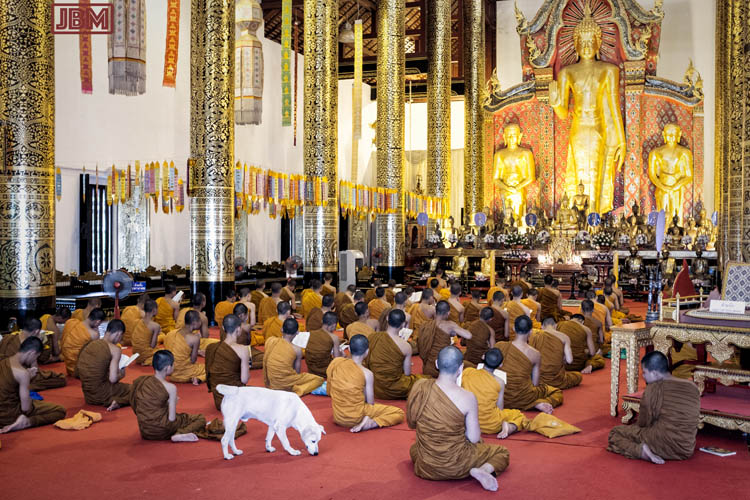
26. Use photos to tell a story
 One photo can suggest or even tell a story, even if the details of the narrative are not clear. If the viewer sees things happening in the photo, particularly interactions between people or people and objects, they will naturally try to work out “what’s going on?”, and will even make up their own story to resolve the question. We humans have a natural urge to understand the situations that we encounter; you can use this to make your photos more interesting to the viewer.
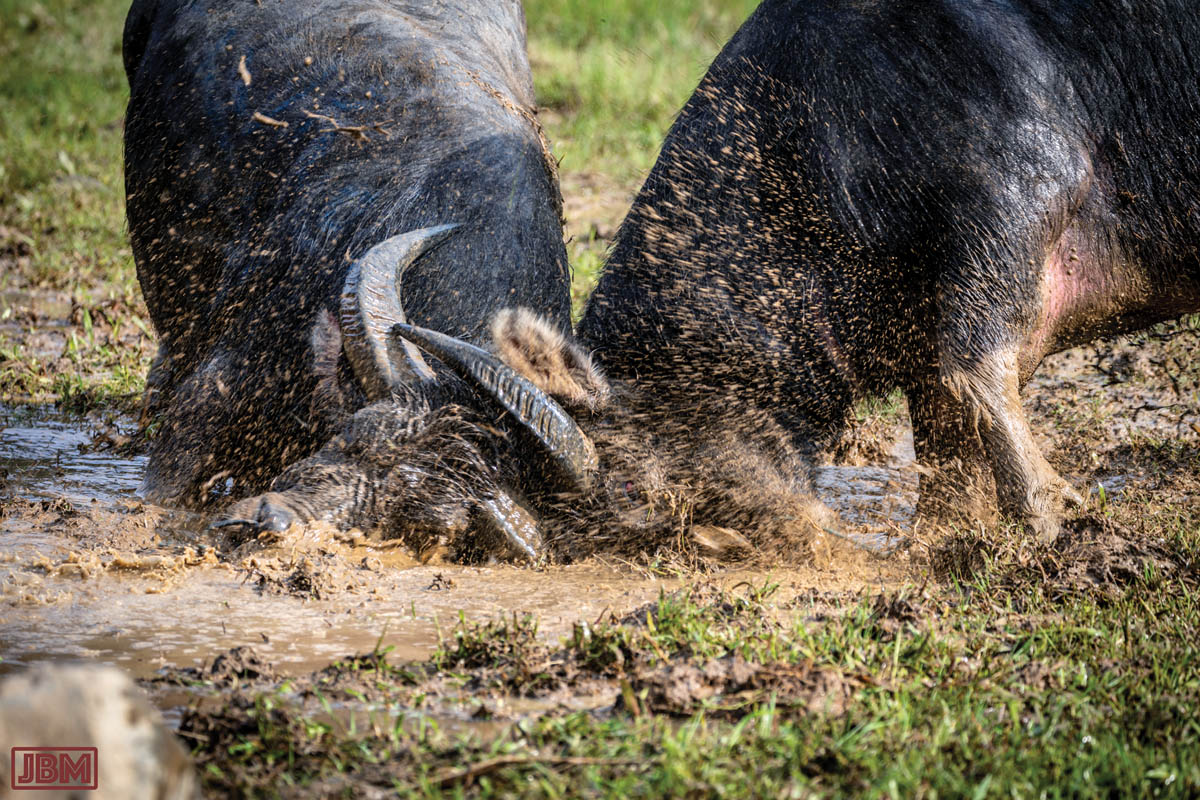
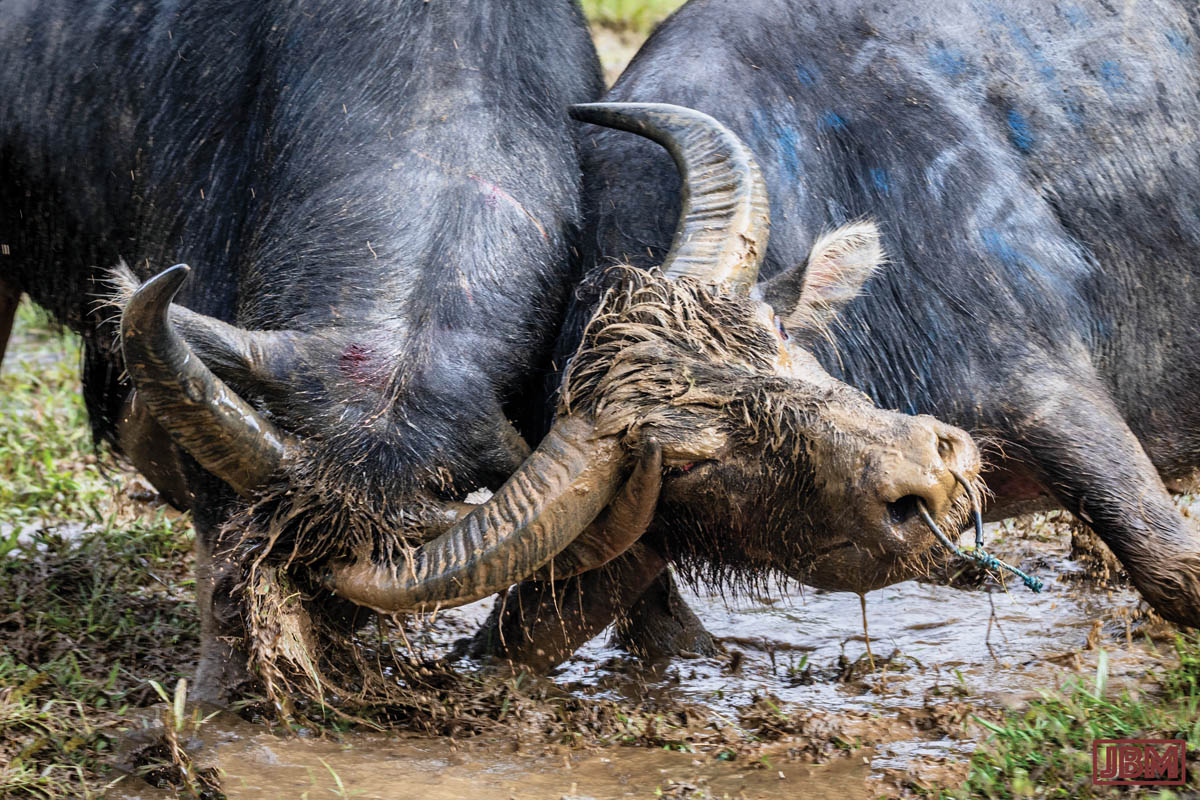
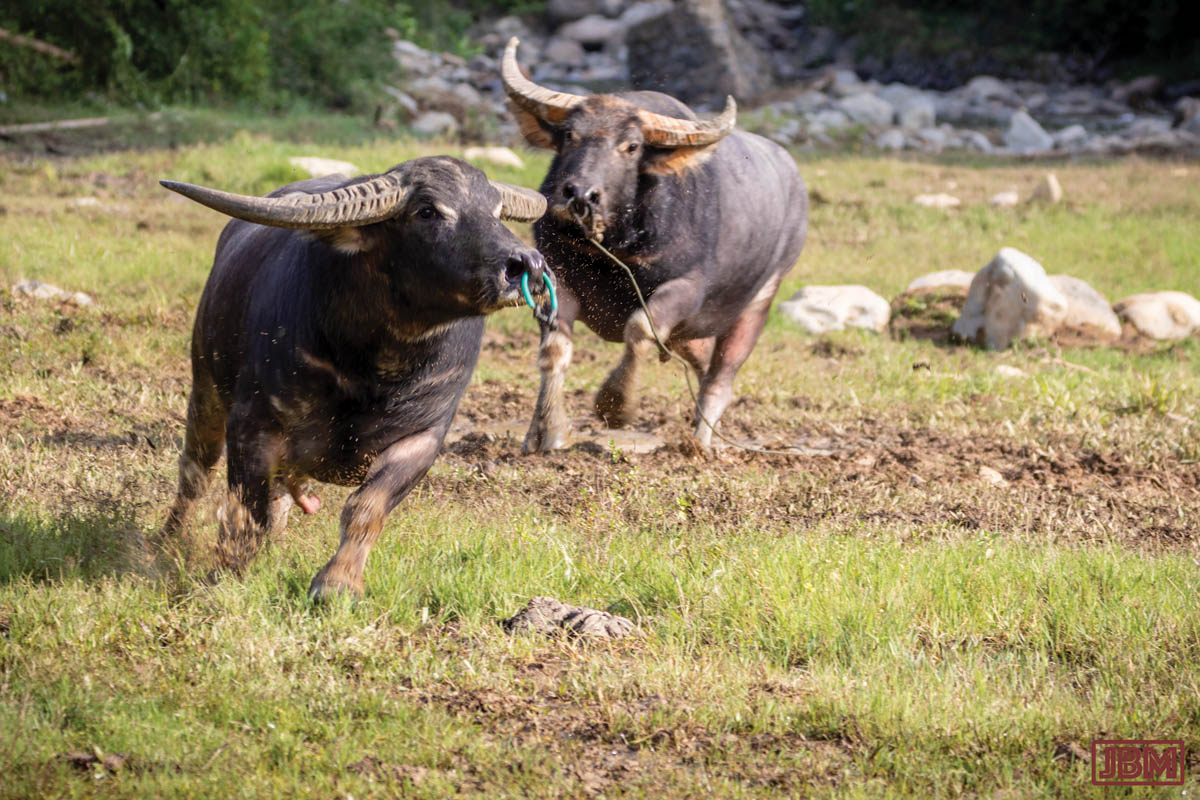
 But a series of photos can also be highly effective, if the connection between each of the photos is clear. This can be particularly useful when you want to photograph a process, when each photo can depict one step in that process.
27. Show some emotion!
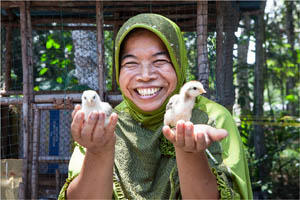 Don’t be afraid to show emotion in photos. The viewer will be more interested in a photograph, and will be more likely to remember it afterwards, if she or he has an emotional reaction to the photo.
With the exception of pictures for tips 12, 14, 18, 19 and 21, all the above photos are (c) 2016 John Boyd Macdonald and may not be reproduced without my express permission.